Windows Mail is an email and newsgroup client included in Windows Vista. This tutorial shows you how to set up Windows Mail to work with your e-mail account.
Step 1: Start your Windows Mail software.

Step 2: Click "Tools" and select "Accounts".

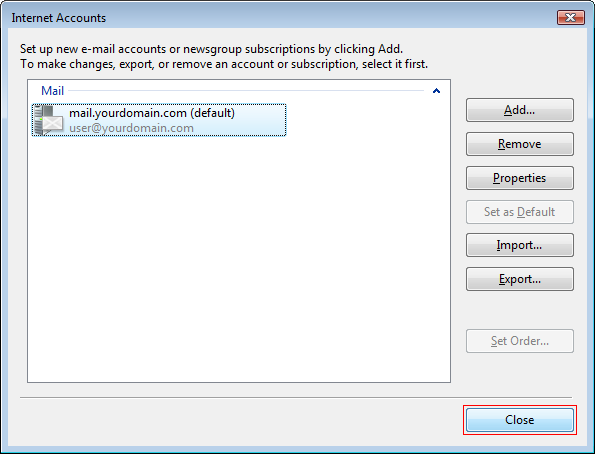
Step 3: On the Internet Accounts window click "Add" button.

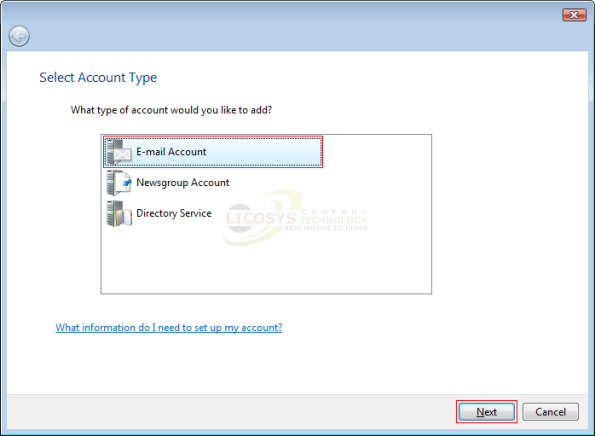
Step 4: On the Select Account Type window select "E-mail Account" and click "Next".
Step 5: In the Display name field enter your "Display Name" this is the name that your recipients will see in the "From" field.

Step 6: In the E-mail address field type "Your Full Email Address".

Step 7: On the Set up e-mail server window enter your information as follows then click "Next":
| Â Incoming e-mail server type | :Â Â Â Select "POP3" |
| Â Incoming mail (POP3) server | :Â Â Â Enter mail.yourdomain.com |
| Â Outgoing mail (SMTP) server | :Â Â Â Enter mail.yourdomain.com |
| Â Please "Select" the box next to "Outgoing server requires authentication" | |
| Â Please make sure to replace "yourdomain.com" with your actual domain name. |
|

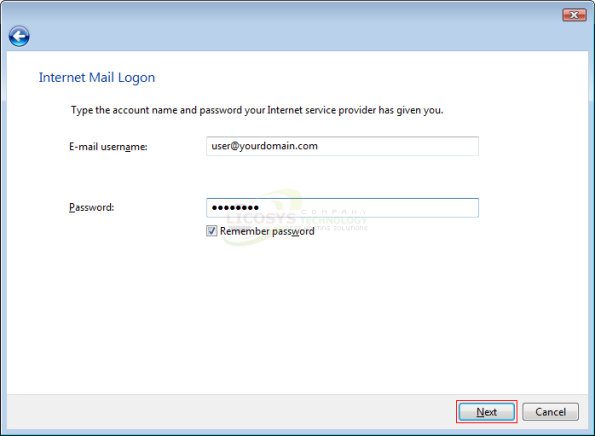
Step 8: On the Internet Mail Logon window type "Your Full Email Address" as your "E-mail username" then type the
             "Email Password" you set up for your email account then click "Next".
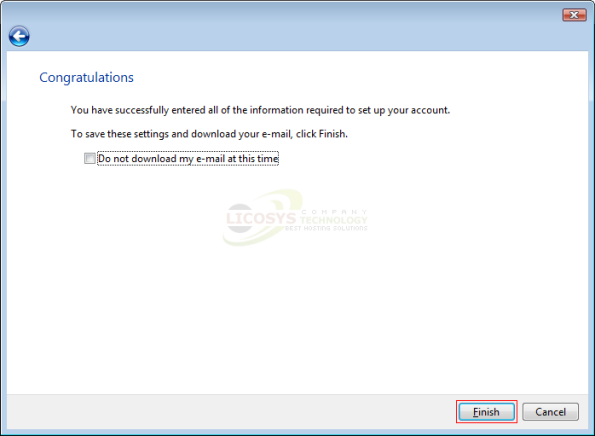
Step 9: On Congratulations window click "Finish".
Step 10: Now "Highlight" your email account and click "Properties".

Step 11: On the mail properties window click "Servers" tab and make sure "My server requires authentication" box has
                been selected then click "Advanced" tab.

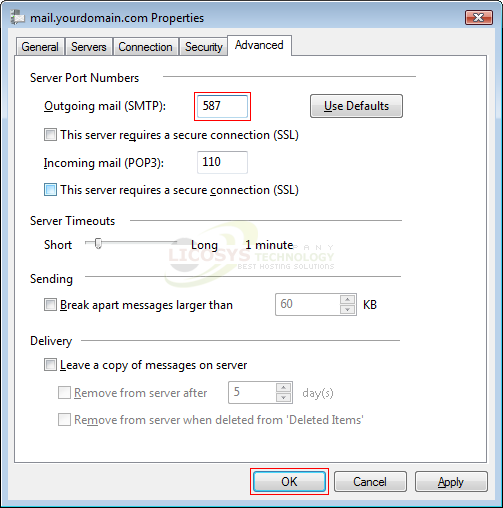
Step 12: On the Advanced tab change "Outgoing mail SMTP" to a special port number "587" then click "OK".
Step 13: On the Internet Accounts window click "Close" to complete the process.